Ask GCAA Admin Portal Guide
The Admin Portal allows administrators to configure and manage the Ask GCAA (AI) system. It provides full control over assistants, files, and system settings to ensure smooth operation and compliance.
Key Features
- Dashboard – Overview of system activity and usage.
- AI Systems – Manage assistants, bot widgets, moderation rules, and prompts.
- Files Management – Upload, organize, and maintain documents used by the AI knowledge base.
- Settings – Configure system preferences and security options.
Assistant Management
- List of Assistants – View all assistants created in the system.
- Search Assistant – Quickly find an assistant using the search bar.
- Create Assistant – Add a new assistant by clicking + Create Assistant.
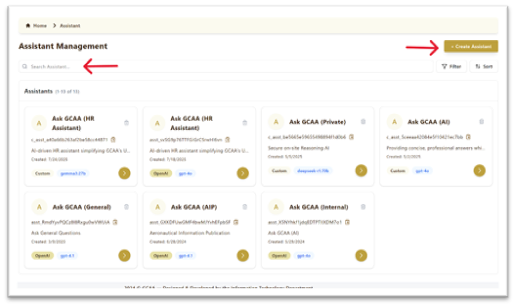
Creating a New Assistant
To create a new assistant, click + Create Assistant in the Assistant Management section. You will see multiple configuration panels:
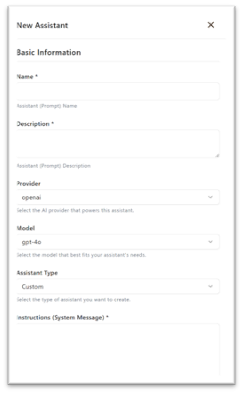
1. Basic Information
- Name* – Enter a unique name for the assistant (e.g., “HR Assistant”).
- Description* – Short summary of what this assistant will do.
- Provider – Choose the AI provider powering the assistant (e.g., OpenAI).
- Model – Select the language model (e.g., gpt-4o, gemma3:27b).
- Assistant Type – Define if the assistant is Custom (tailored) or Predefined Cloud one like OpenAi, Deepseek.
- Instructions (System Message) – Core instructions that guide the assistant’s behavior and tone.
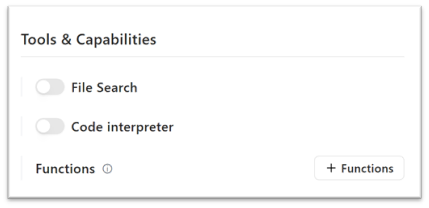
2. Tools & Capabilities
- File Search – Enable if the assistant should search documents from the knowledge base.
- Code Interpreter – Allow the assistant to perform advanced calculations or code execution.
- Functions – Add special functions the assistant can call (e.g., integrations, APIs)
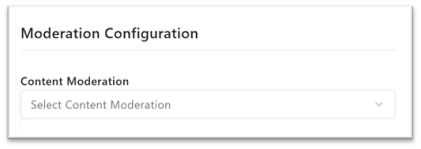
3. Moderation Configuration
- Content Moderation – Select a moderation layer to filter inappropriate or sensitive queries.
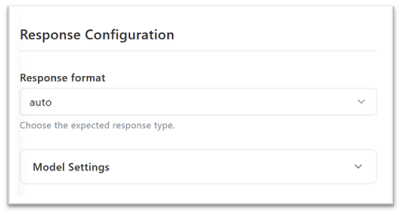
4. Response Configuration
- Response Format – Choose output type (e.g., auto, text, JSON).
- Model Settings – Adjust advanced model parameters (temperature, max tokens, etc.).
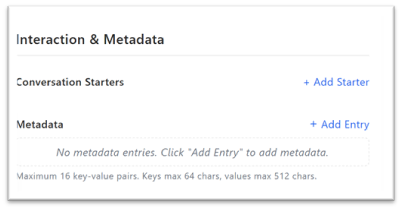
5. Interaction & Metadata
- Conversation Starters – Add example questions users can click to start interacting.
- Metadata – Attach up to 16 key-value pairs for categorization or system use.
6. Sharing & Access
- Share with Individuals – Assign access to specific users.
- Share with Departments – Make the assistant available for entire departments.
- Systems Subscription – Link the assistant to other connected systems.
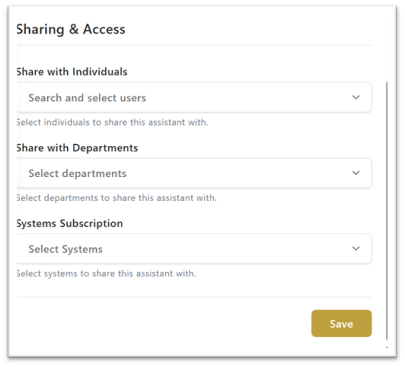
7. Save Assistant
Once all fields are filled, click Save to create the assistant. It will now appear in the Assistant Management list.
- Filter Assistants – Narrow results by provider, model, or type.
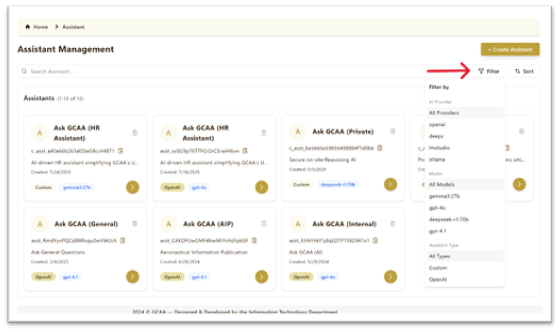
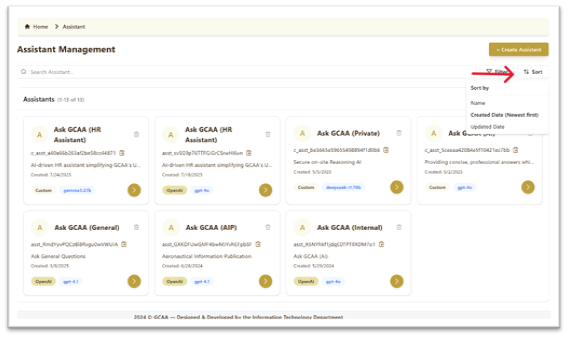
- Sort Assistants – Arrange by name, created date, or updated date.
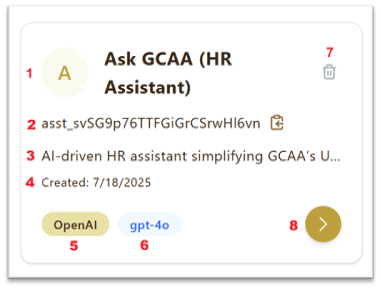
- Assistant Details
Each assistant card displays the following information:
- Assistant Name – The title of the assistant (e.g., HR Assistant).
- Assistant ID – Unique identifier for the assistant.
- Description – Short summary of the assistant’s purpose.
- Created Date – When the assistant was added to the system.
- AI Provider – Source/provider of the model (e.g., OpenAI).
- LLM – The large language model powering the assistant (e.g., gpt-4o).
- Delete – Option to remove the assistant.
- View/Edit – Open detailed view or edit assistant configuration.
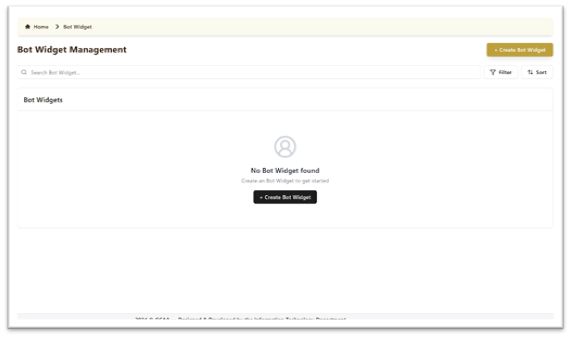
Bot Widget Management
This section allows administrators to manage Bot Widgets, which are embeddable chat interfaces linked to assistants.
- List of Bot Widgets – Displays all created widgets.
- Search Bot Widget – Find a specific widget using the search bar.
- Create Bot Widget – Add a new widget by clicking + Create Bot Widget.
- Filter / Sort – Organize widgets based on specific parameters.
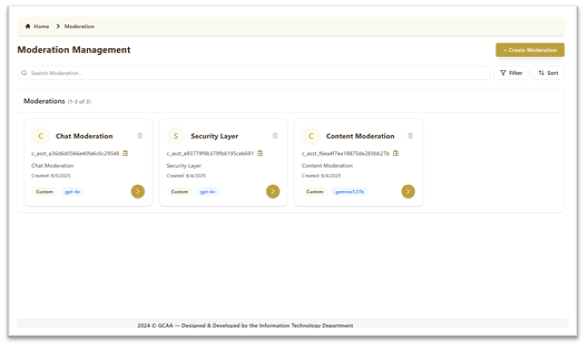
Moderation Management
This section is used to configure moderation rules that ensure secure and compliant AI interactions.
- List of Moderations – View all existing moderation layers.
- Search Moderation – Quickly locate a moderation rule.
- Create Moderation – Add a new moderation by clicking + Create Moderation.
- Filter / Sort – Organize moderations by type, model, or date.
- Moderation Cards – Show details like ID, description, created date, model, and type.
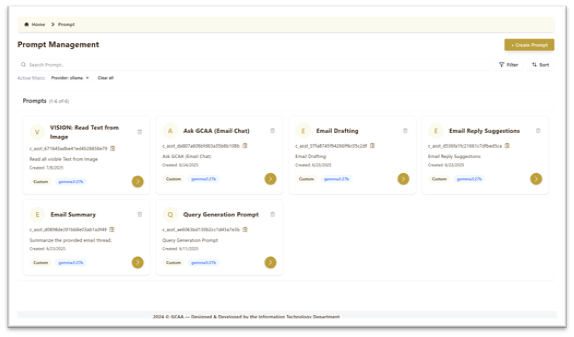
Prompt Management
This section is used to create and manage custom prompts that define how the AI responds in different contexts.
- List of Prompts – View all available prompts with details.
- Search Prompt – Find a specific prompt using keywords.
- Create Prompt – Add a new custom prompt by clicking + Create Prompt.
- Filter / Sort – Organize prompts by provider, model, or creation date.
- Prompt Cards – Show ID, description, created date, and assigned model.
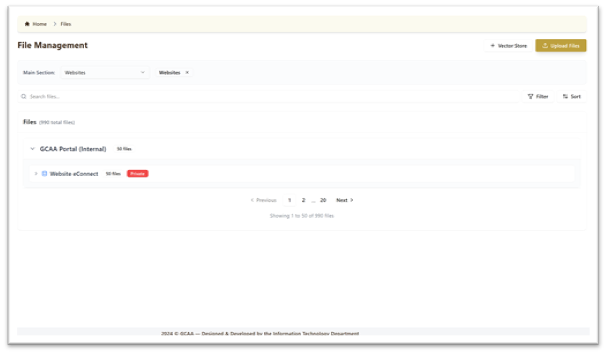
File Management
This section manages all files that form the knowledge base for assistants.
- Main Sections – Organize files by category (e.g., Websites, Policies).
- Search Files – Locate a file quickly using keywords.
- Upload Files – Add new files to the knowledge base.
- Vector Store – Manage how files are stored and processed for AI use.
- File Groups – Files can be grouped (e.g., Website eConnect) and marked as Private if restricted.
- Filter / Sort – Arrange files based on different attributes.
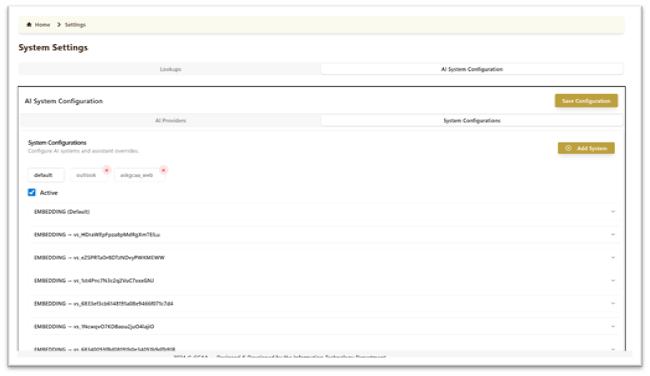
System Settings
The System Settings section allows administrators to configure the overall AI system. It has two main parts:
1. Lookups
- Manage system lookups and hierarchical data.
- Add, edit, or delete lookup values.
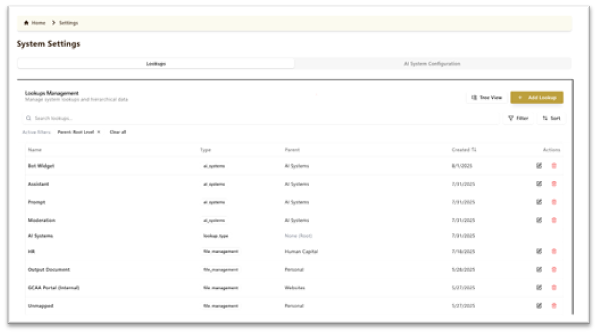
2. AI System Configuration
This section has two sub-sections:
- AI Providers Configuration
- Configure connections with different AI providers (e.g., OpenAI, Deeps, Lmstudio, Ollama).
- Set API Keys, Organization IDs, and Base URLs.
- Use Test Connection to verify setup.

- System Configurations
- Manage system-level AI settings and assistant overrides.
- Enable/disable configurations using the Active toggle.
- Add or remove systems (e.g., default, outlook, web).
- Configure embeddings and vector stores for optimized AI responses.